Getting Started
First Deployment
Walk through a real SkyPort deployment flow from project to logs.
You can also either use the Web UI to create your deployment. Or, you can deploy using the Skyport CLI!
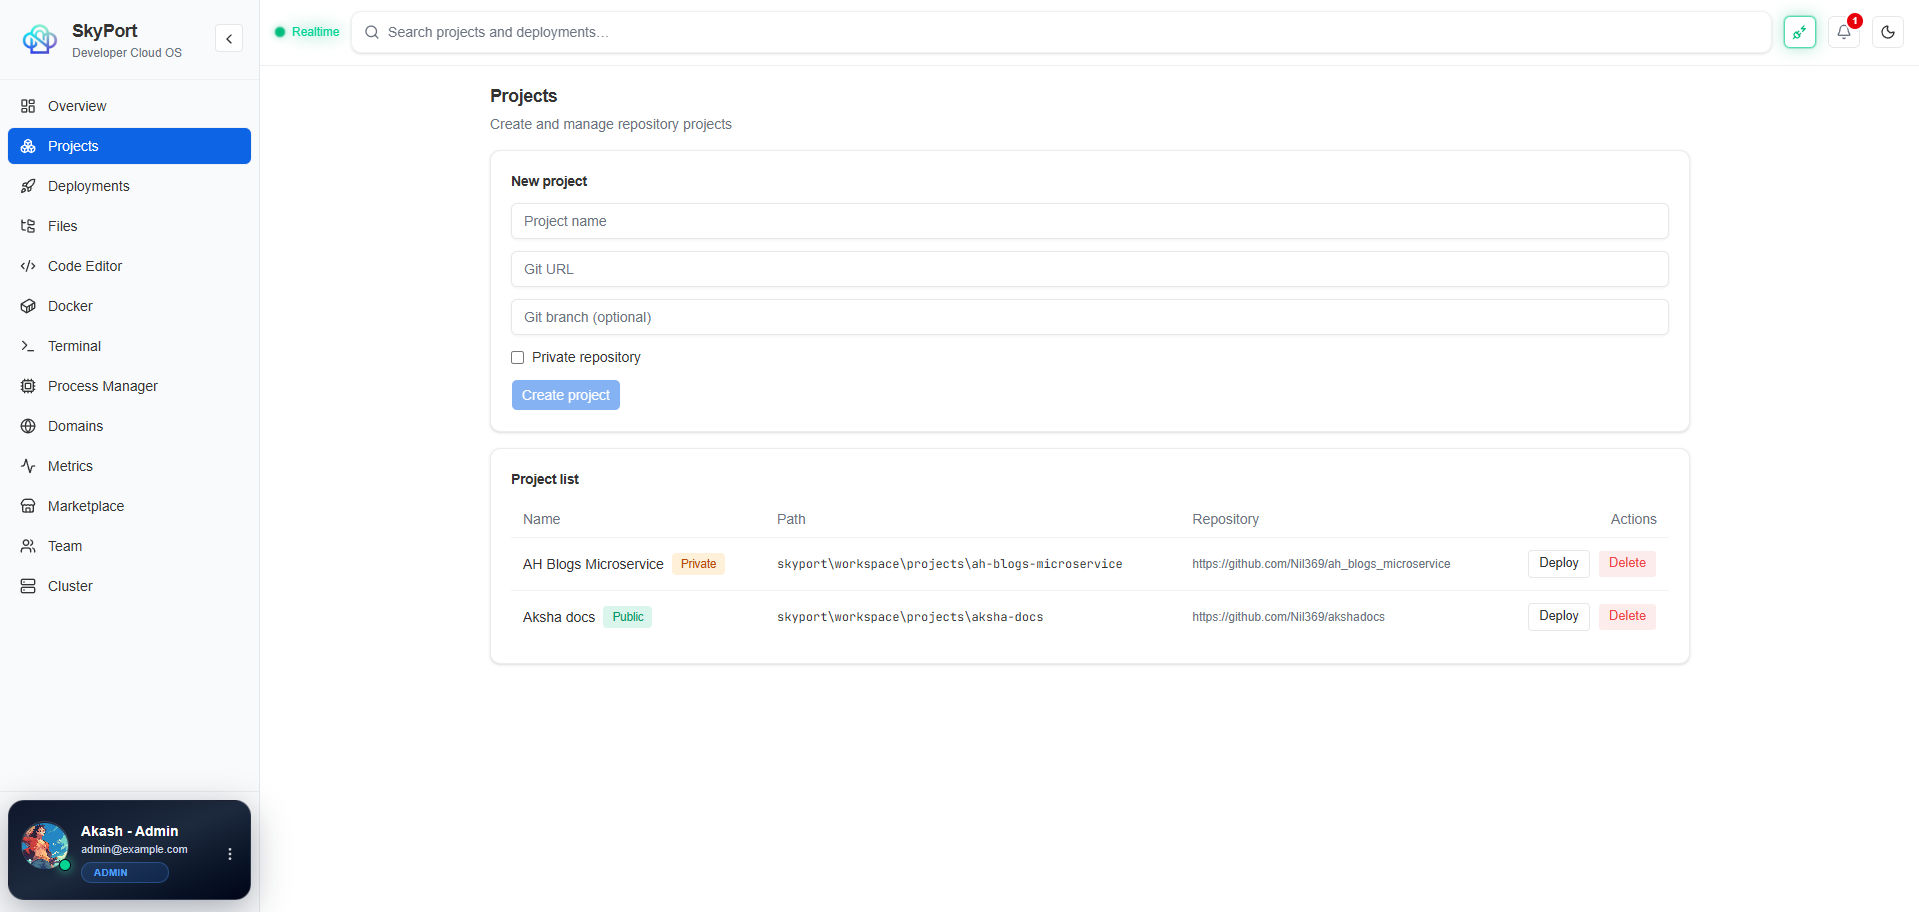
Projects Tab
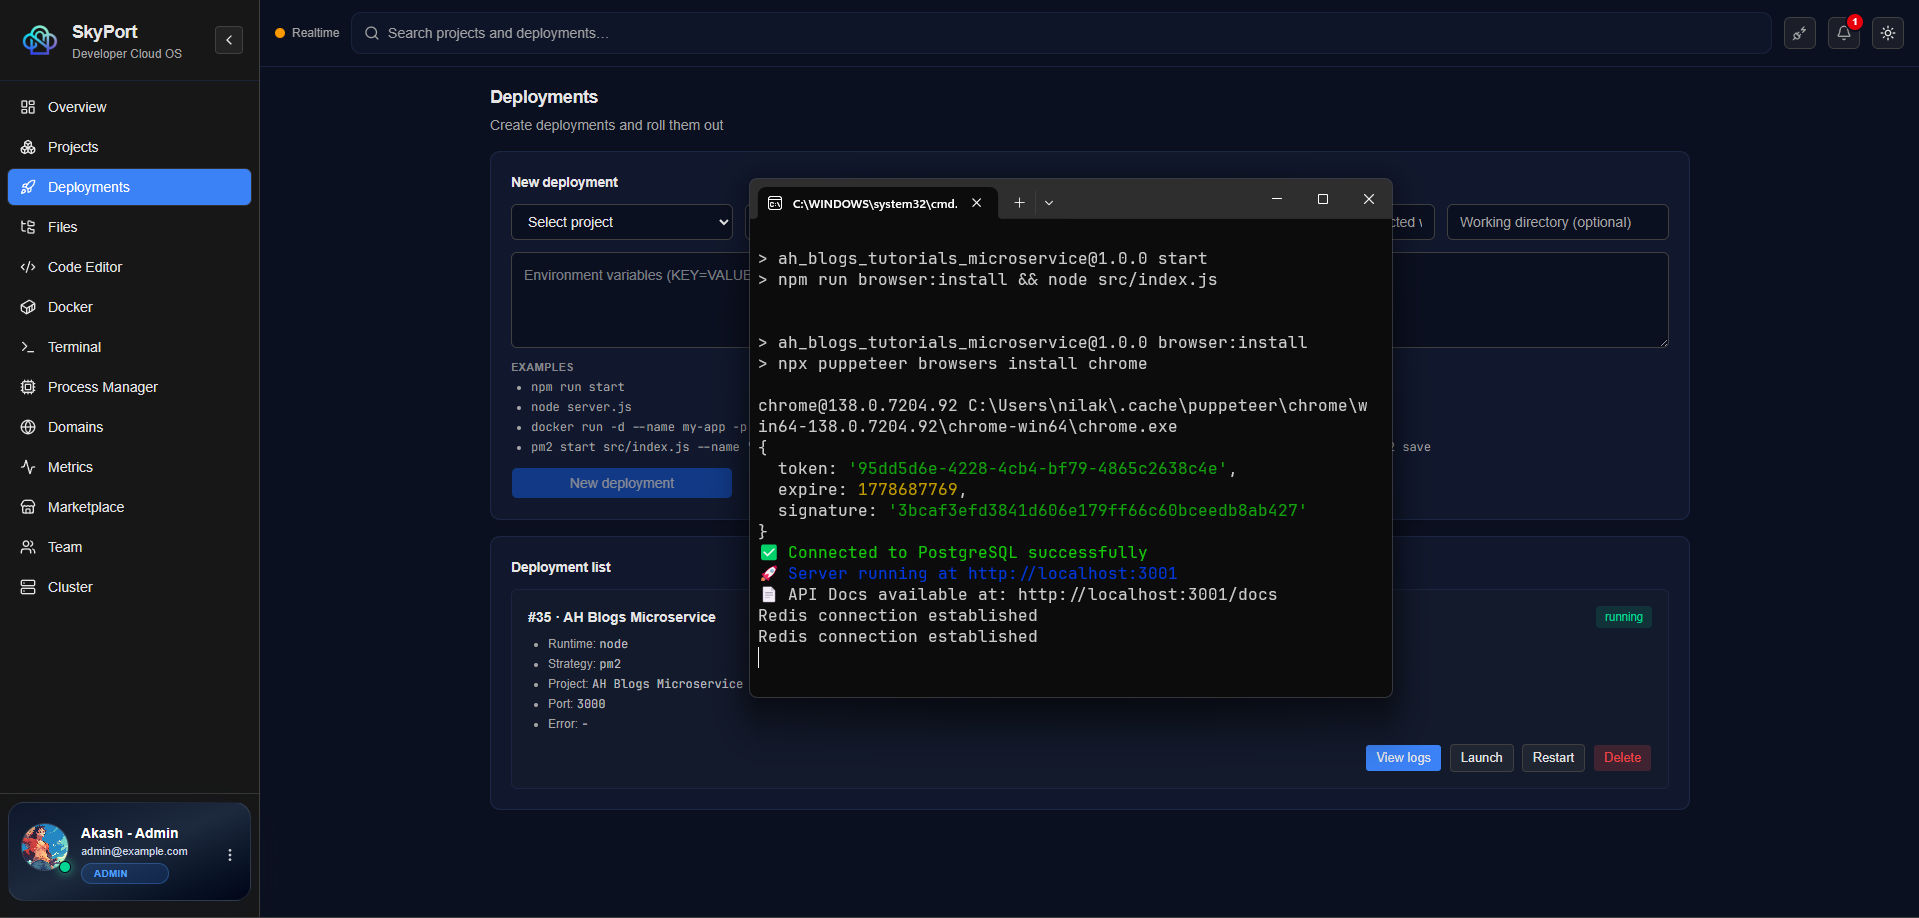
Deployment Tab
Use the
Skyport CLI to deploy a project!- Flow:
Add a project->Create a deployment->Verify the dashboard->Open logs.
Register a server profile
terminal
skyport server add --name production --url https://skyport.example.com
skyport server list
Authenticate
terminal
skyport login
skyport whoami
Pull or register a project
terminal
skyport project pull https://github.com/example/my-app.git --name my-app
skyport project list
Create a deployment record
terminal
skyport deploy \
  --project-path ./my-app \
  --start-cmd "npm run start" \
  --build-cmd "npm run build" \
  --working-directory . \
  --env PORT=3000 \
  --env NODE_ENV=production
Read the deployment logs
terminal
skyport logs <deployment-id>
Roll out or restart
terminal
skyport rollback <deployment-id> --mode restart
Production notes
- Keep environment variables out of the command line when they contain secrets.
- Validate port mappings before exposing a service through Caddy.
- Use the dashboard or TUI when you want a quick visual check of health and logs.
Next: Troubleshooting